


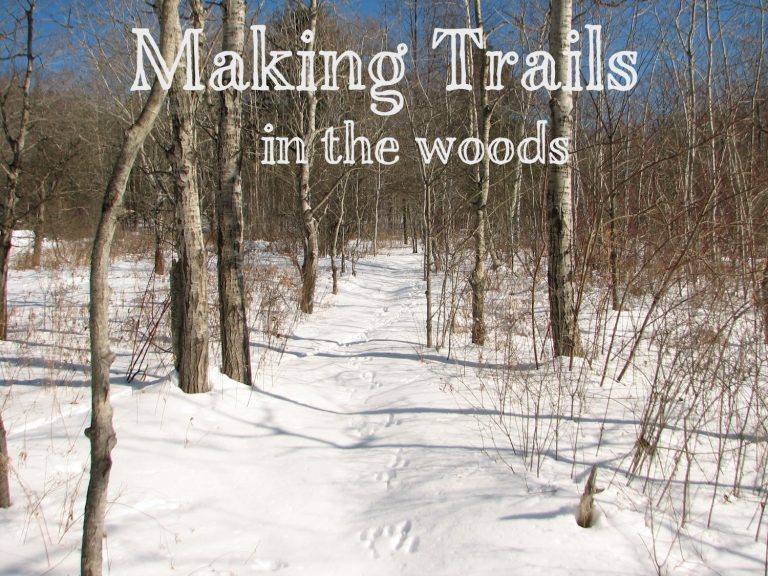
It’s time to put gardening on hold until the mud season. If you have woodlands on your property it is a great time to make paths and convert your paths to trails.
What is the difference between a trail and a path?
The words path, trail and mathematical ones have many different meanings. Some people use the words interchangeably. The distinction I found in this is that a trail is a path improved by humans or animals. It can be made wider for vehicles, horses, or bicycles. I will only be discussing how to improve it for pedestrians, as we do not have off-road vehicles or bicycles.
What should be the route of the trail?
My kids made paths in our old house by going to the places they wanted, repeatedly. They mostly followed the path that was least difficult, either the deer trails or the water flowing during spring melt. My children, most of whom are adults now, quickly discovered that our neighbors’ properties had much longer trails. So the only path-of-least-resistance my children created is one to connect with the larger neighborhood-wide trail system.
Stock up on your essentials and dress for success
You can start by creating a trail in the winter if you are not familiar with your woods. Before I get into that, there are some tools and equipment you will need. As a gardener, you probably already own most of them. Marking is required for both new and established paths. Get marking tape. You can save time by using more than one colour of flagging tape. I use one colour to mark the trail and another to highlight plants or other features. Another color is used to identify trees or shrubs which need to be removed.
You need to wear appropriate footwear and clothing for the current weather conditions. You can wear the same clothing you would for cross-country skiing or winter hiking – multiple layers rather than one heavy coat – but you may want to consider insulated task gloves in place of your usual handwarmers. Snow shoes are also a good option if you want to go deeper in the snow. If the snow is very deep, however, it is best to wear hiking boots. You might want to avoid wearing that new ski jacket because it can be snagged on thorns and hitchhiking seed.
When you first start out, you will only need a pair hand secateurs to clear brambles, branches, and other obstacles out of the way. You will eventually need loppers and perhaps a chainsaw. If you are like me, then you will also need to be a chainsaw operator.
There are two ways to create a path
As soon as we moved in, I decided to create the Secret Garden. As I previously wrote, this involved cutting down two large trees and a lot more pruning and lopping. There are probably some special spots on your property-an abandoned foundation, a bubbling spring, or a quiet clearing.
You’ll have to consider the best route to take if you don’t already know how to get to these places. Do you have other places that you’d like to visit along the way. Are there any obstacles that need to be avoided (or, in the case of water, bridged)? Are you sure that you want to climb the hill straight up? Do you want to walk straight up the hill and then return along the same route, or will you make a loop to come back from your starting point?
Use flagging tape to mark the path on a (relatively nice) day. The knot is on the side I want to have the path. I wrap the flagging around the tree. The knot I used to use was the same as the one I use to tie shoes. It makes it easy to remove the tape later with a simple tug on the strand. The tape will eventually become too tight and you may want to cut it.
When I am walking the path, I will always be able see the next marker if I tie another piece while the previous one is still visible behind me. I will tie a long string to a branch if I believe a marker may be difficult to see. It will move in the wind, making it easier to see. This initial marking is your “first draft” and you probably won’t get it right on the first go. If you have created a path that loops, you will need to walk in the opposite direction so you can see all the markers.
My kids at the old home did the second way of making a path: they followed the path with the least resistance. Start following the paths of deer that cross your land regularly, if you are like me. If they lead you over property lines, or you don’t recognize where you are, you can turn around and return the way you came.
On the southern part of our property which I have named Wild Apple Woods, I’ve been tracking deer. We had already worn paths to some of the things we wanted-a hammock, a Swing. But for the most part, I followed the deer’s tracks. I made a few modifications where the deer crossed over into the neighbor’s property and I did not. First, I walked the path. Later I marked it.
You can walk your path at any time of the year
It’s okay to create your route in the winter. But it is still “rough draft” unless you walk it through every season. You may discover that certain low spots remain muddy for long periods of time, that underbrush is thick and needs to cleared, or that Hey-now that trees are leafed, I cannot see many of these markers. I sometimes re-route to avoid muddy areas. Sometimes a well-placed step is all you need. I still follow the rule of being able see the previous marker. As soon as I cannot see the previous marker, I stop adding new markers. This means that I have to add many new markers. You may also find new surprises, like a patch full of trilliums that you didn’t know existed.
From path to trail
Consider your goals before you improve your path. Do you want to allow two people to walk together? What is the desired walking surface smoothness? The trail-building book listed below can help you consider all the My goal was pretty straightforward: I didn’t need anything to It was fine to get a little mud, but I The walker would have to be on the lookout for tree I was not going to remove the rocks.
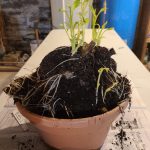
In addition to hand pruners, flagging tape and Since the rose gloves are too big to fit in my pockets and I use the rose gloves to remove brambles, You would be surprised what you can pull up in mud season
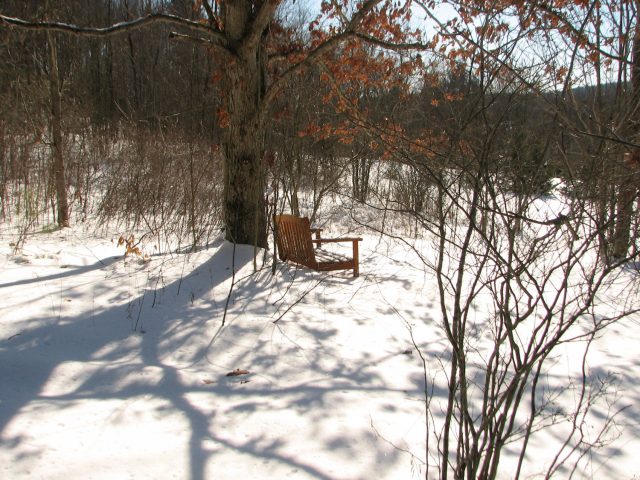
A bench with a view is a good reason to take a winter walk.
Making a trail is more than just removing physical obstacles. You might also consider what you could add. I’ve already mentioned the possibility of adding. Bridge . The bench is a great addition to a scenic location. Add native plants to areas you believe will flourish. Why not hang a swing if, like us you see Hmm. Maybe, like me you’re starting to see your trail as It’s a garden, just a bigger one, The best part is that you can still work in your garden during


+ There are no comments
Add yours